Drying and Curing Cannabis in a Small Space: Turning Harvest into Fire
You’ve made it past the grow. Your plants are chopped, your drying area is prepped, and the hard part is done — or so it seems. But what happens after harvest is just as important as the grow itself. This is where you turn raw plant material into smooth, potent, flavorful flower. Let’s talk drying and curing.
Table of Contents
- 1. Pre-Harvest Checklist
- 2. The Drying Phase
- 3. What If It Smells Like Hay?
- 4. What is Curing and Why It Matters
- 5. How to Cure Properly
- 6. Curing in Small Spaces
1. Pre-Harvest Checklist
Before the chop, you should already have a few things locked in:
- Defoliation done: Large fan leaves removed for better airflow during drying.
- Drying area ready: Tent, closet, or small room with temp and humidity control.
- Tools ready: Hangers, drying rack, hygrometer, small fan (not pointed at buds).
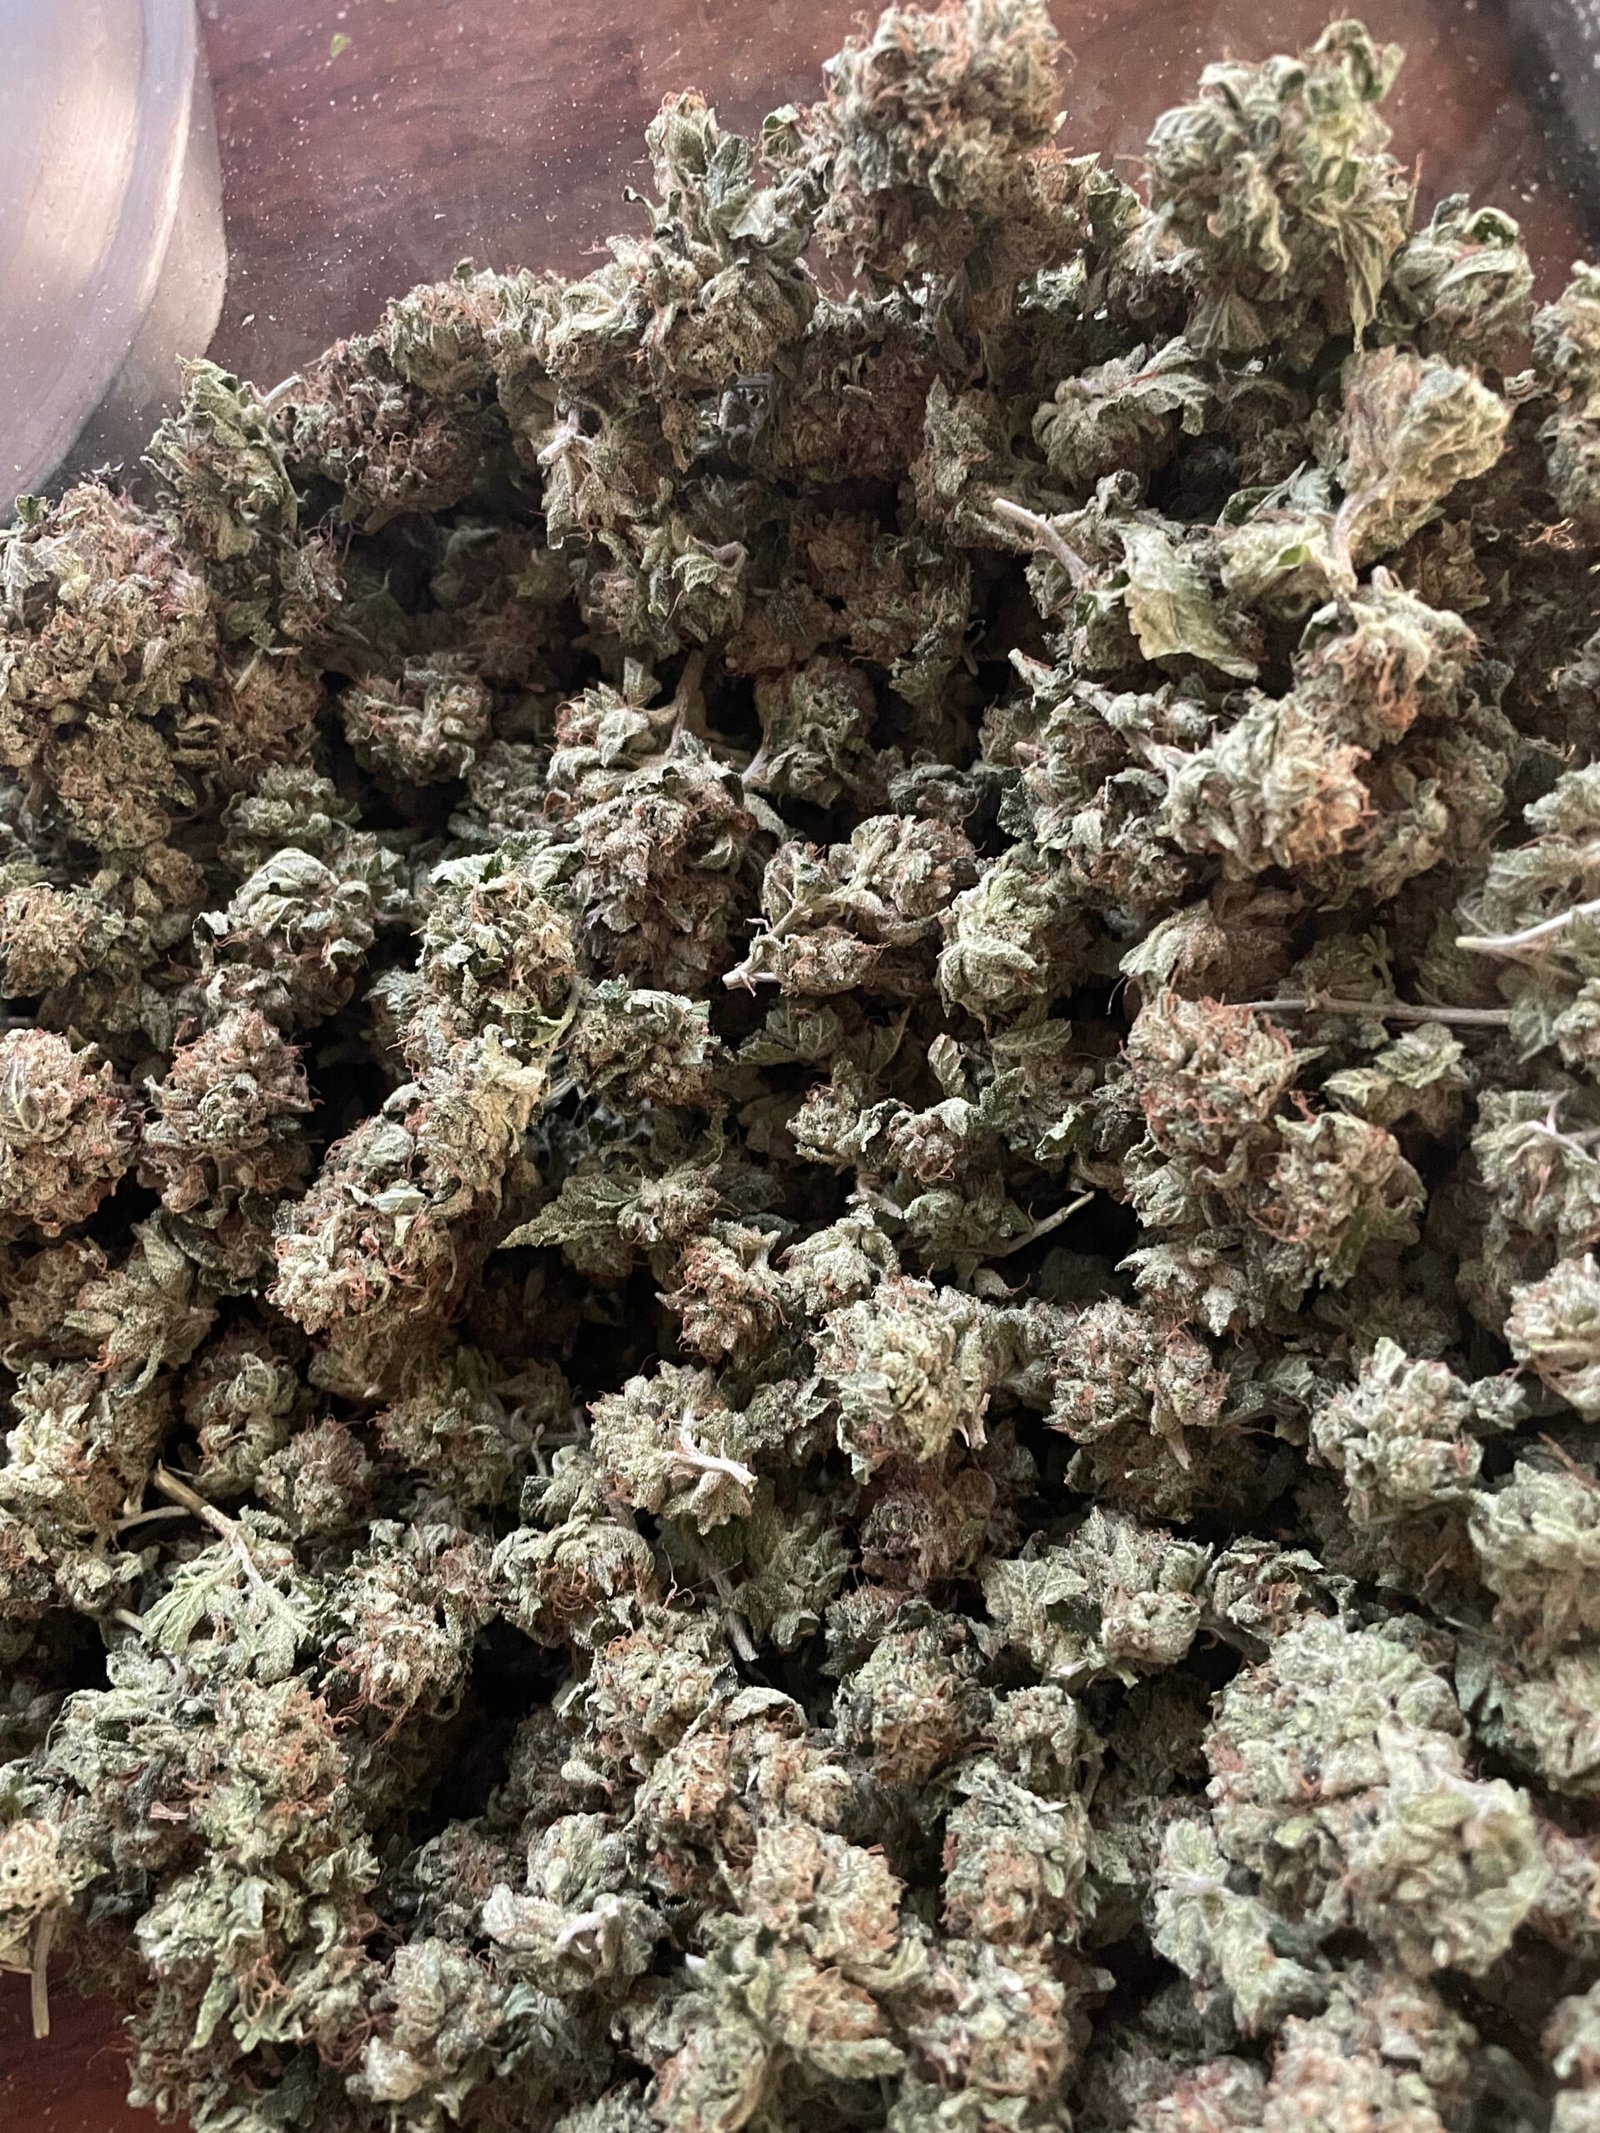
2. The Drying Phase
This step is all about patience. The goal is to dry slowly, not quickly. Ideal conditions are:
- Temperature: 60–70°F (15–21°C)
- Humidity: 55–65%
- Airflow: Gentle, indirect air movement
- Darkness: Keep it dark to protect cannabinoids and terpenes
Buds are ready when small stems snap instead of bend, usually in 7–14 days depending on density, humidity, and temp.
3. What If It Smells Like Hay?
This is a common freakout for first-time growers. Don’t panic — a grassy or hay-like smell during drying is normal and not a sign of ruined weed.
The smell comes from leftover chlorophyll breaking down. If you dry too fast, this process gets cut short. That’s why a slow dry is best — it allows unwanted compounds to break down before sealing them in during curing.
You can still get the terps back. The curing process brings back that dank aroma — if done right.
4. What is Curing and Why It Matters
Curing is the slow aging of your dried buds in sealed containers to preserve terpenes, improve taste, smoothness, and potency. Think of it like aging wine or dry-aging meat — it separates good weed from great weed.
A good cure can mean:
- More aroma and flavor
- Smoother smoke (less harshness)
- Better cannabinoid and terpene preservation
- Longer shelf life without mold or degradation
5. How to Cure Properly
Here’s the basic process:
- Trim buds: Remove sugar leaves if you didn’t do it before drying.
- Jar them up: Use glass mason jars (or CVault containers) filled 60–70% full.
- Check humidity: Use mini hygrometers. Ideal RH inside the jar is 58–62%.
- Burp jars: Open for 5–10 minutes daily for the first 1–2 weeks.
- Long-term cure: After 3–4 weeks, burp less often. Cure for 1–2 months minimum. Some go 6 months!
6. Curing in Small Spaces
Even in tight spaces, you can cure successfully. Here’s how:
- Use stackable jars: Mason jars can go under beds, closets, drawers, etc.
- Cool, dark storage: Keep temps under 70°F and away from light.
- Smell-proof bags or buckets: If needed for stealth, use Grove Bags or air-sealed buckets with Boveda packs.
Once cured, your flower is ready to enjoy — or stash long-term. The work is done. Enjoy the fruits of your labor!
“Anyone can grow weed. Few can grow weed that people remember.”